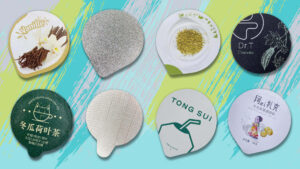
Want to customize precut aluminum foil lids but don’t know how to start?
Tilda, a company with over 15 years of experience in the aluminum foil packaging industry, may provide you with some professional guidance.
Key TakeAways
–This article provides a comprehensive overview of the four core customization components involved in precut aluminum foil lids: mechanical punching dies, gravure printing cylinders, embossing rollers, and raw material selection.
-It clearly explains the function, technical significance, and production lead time of each customization project, helping buyers understand what truly impacts quality, compatibility, and delivery timelines.
-In addition, it outlines the complete printing sampling process, including step-by-step procedures, estimated timelines, and cost structure — enabling procurement managers to better evaluate budget planning and project scheduling.
Customizing precut aluminum foil lids typically involves four key customization projects:
- Mechanical Punching Die-Cutting Mold
- Printing Cylinder
- Embossing Roller
- Raw Materials
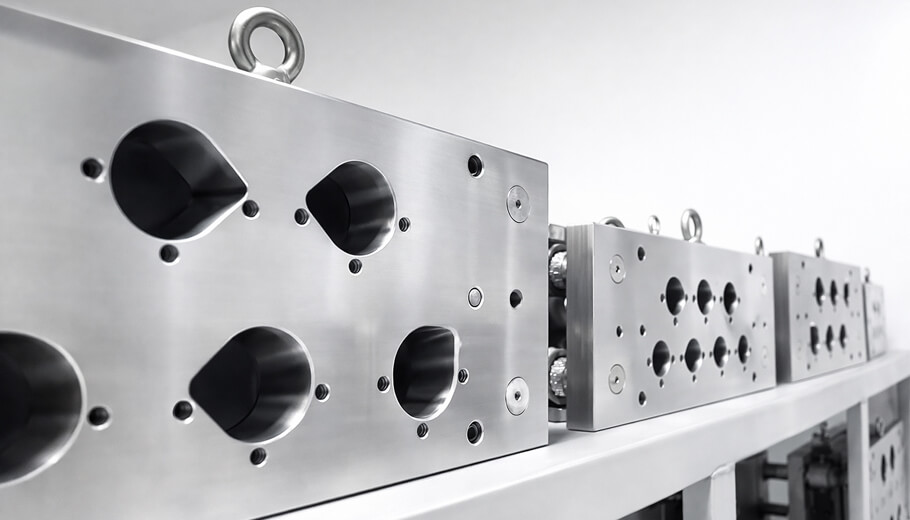
I. Mechanical Punching Die-Cut Mold for Precut Aluminum Foil Lids
What Is a Mechanical Punching Die-Cut Mold?
The punching die is a core component of the die-cutting machine.
Its function is to convert aluminum foil rolls into individual precut aluminum lids in different shapes and sizes.
A punching die consists of two matched parts (upper & lower set). Therefore, it is always customized and charged per complete set.
How to Customize an Accurate Punching Die-Cut Mold?
Step 1: Provide Samples or Detailed Equipment Drawings
- 3–5 pieces of your current precut aluminum lids (recommended)
- Detailed technical drawings of your sealing machine (not simplified sketches, but dimension-accurate engineering drawings including angles and measurements
Providing physical samples is the most effective way to ensure dimensional accuracy.
Step 2: Die Drawing for Confirmation
Based on your samples or machine drawings, we will prepare a technical die drawing for your review and confirmation. This ensures alignment before production begins.
Step 3: Manual Prototype Die & Trial Lids
Before manufacturing the full mechanical die, we:
- Produce a manual die-cut mold (prototype)
- Prepare unprinted precut aluminum lids and send them to you for machine testing
This step guarantees compatibility and reduces risk.
Step 4: Formal Die-Cut Tool Production
After trial confirmation, we proceed with official punching die manufacturing.
Lead Time for Punching Die-Cut Mold?
Typically: 15–25 natural days, depending on complexity and mold materials.
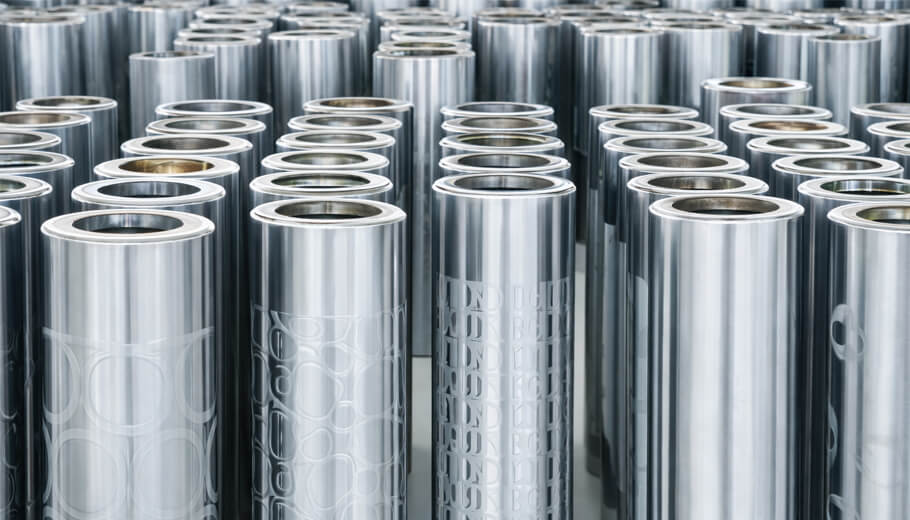
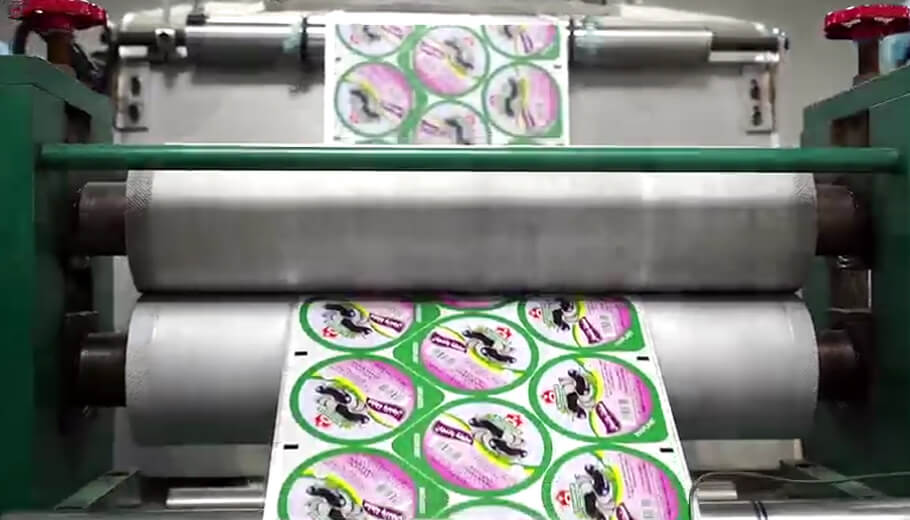
II. Printing Cylinder
What Is a Printing Cylinder?
For multi-color printed aluminum foil lids, a gravure printing cylinder is required.
It is a cylindrical metal roller engraved with your logo, text, and artwork. During gravure printing, the engraved design transfers onto the aluminum foil surface via heat transfer.
Printing Cylinder Customization Process
Printing Cylinder Customization Process
Step 1: Provide Design Source Files
- AI (Adobe Illustrator , recommended)
- PSD
- EPS
- CDR
- PDF
AI (Adobe Illustrator) format is preferred for better editing flexibility.
Alternatively, physical printed samples are acceptable.
Step 2: Artwork Review & Communication
Our design team will:
- Review your artwork file
- Identify potential printing risks
- Suggest necessary adjustments
- Provide a PDF Artwork Proof via email for confirmation
Step 3: Artwork Optimization & Pantone Code Confirmation
If revisions are needed:
- We evaluate feasibility
- Propose optimized solutions
- Confirm Pantone color numbers (based on Pantone C card)
We continue refining until final approval.
Step 4: Printing Cylinder Production
After final artwork confirmation, printing cylinder production begins.
Lead Time for Printing Cylinder
Typically: 4–7 natural days
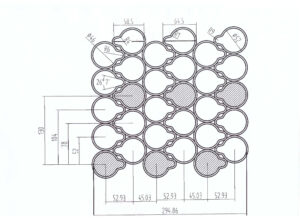
III. Embossing Roller
What Is an Embossing Roller?
Embossing rollers are another important component of punching machines. Their main function is to press delicate patterns onto the surface of aluminum foil, making the foil look more textured. Customized embossing rollers usually refer to customized sizes and patterns.
Embossing rollers are typically a set consisting of two cylindrical rollers (as shown in the picture), so they are usually customized per set.
Embossing Roller Customization Process
Step 1: Provide 3–5 Existing Physical Lid Samples
This ensures pattern and dimension accuracy.
Step 2: Layout Drawing Confirmation
We prepare a pattern layout drawing for approval.
Step 3: Production After Payment
We prepare the pattern layout drawing for approval.
Step 3: Production After Payment
Upon confirmation and embossing roller fee payment, manufacturing begins.
Step 4: Sample Confirmation
Finished embossed samples are sent for your confirmation.
Step 5: One Free Adjustment
If adjustments are required, we provide one free refinement opportunity.
Lead Time for Embossing Roller
Typically: 20–25 natural days
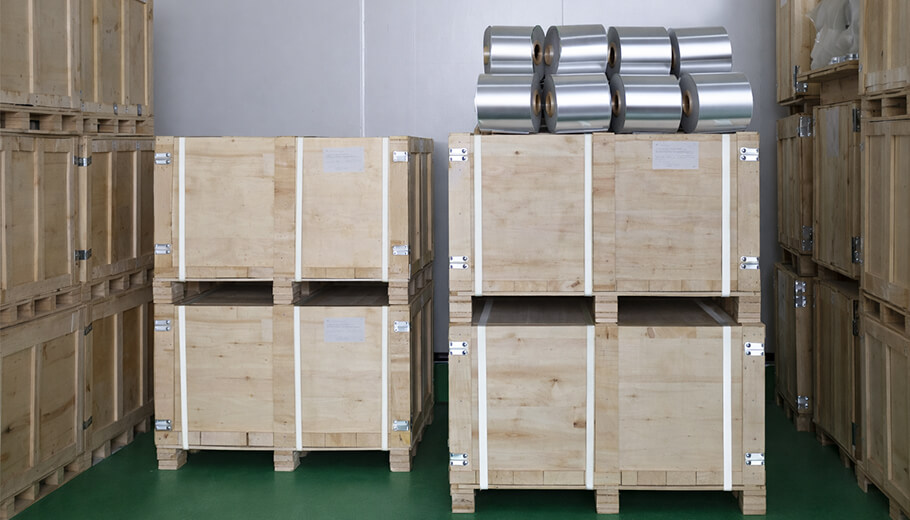
IV. Raw Materials Customization
Raw material customization is a critical step in ensuring stable sealing performance and long-term production reliability. The customization of raw materials primarily involves three types:
- Aluminum foil,
- Composite plastic film
- Adhesives.
Aluminum Foil
Key Customization Factors:
- Alloy (determines softness & flexibility)
- Width
- Thickness
Width and thickness are determined based on:
- Lid dimensions
- Sealing equipment compatibility
- Product characteristic
Lead Time: 10–20 natural days
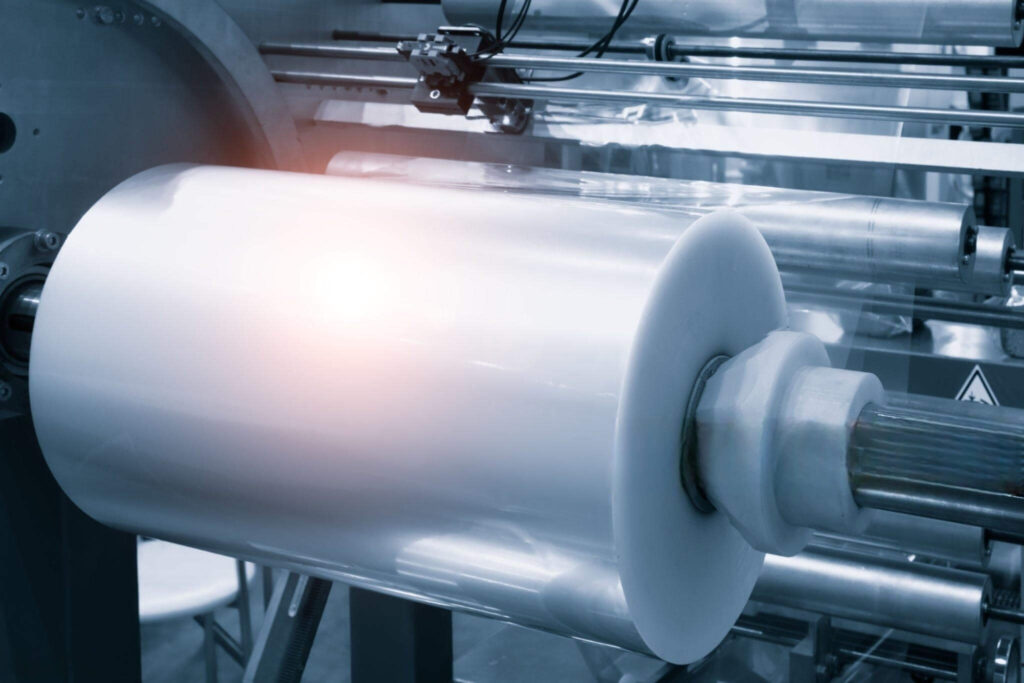
Laminated Plastic Film
Key Customization Factors:
- Plastic type:PP (Polypropylene, PE (Polyethylene) , PS (Polystyrene)
- Width
- Thickness
Customized according to container material and sealing performance requirements.
Lead Time: 7–10 natural days
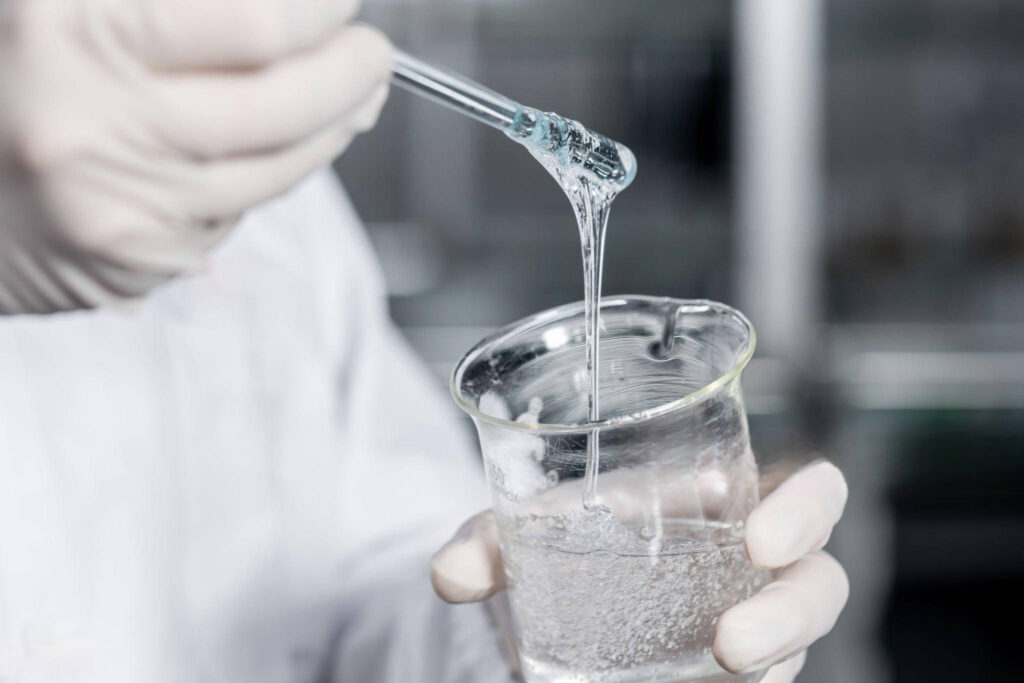
Heat Seal Lacquer (Adhesive)
Important Consideration:
The container material determines the adhesive formula.
Proper heat seal coating ensures:
- Strong sealing
- No leakage
- Easy peel performance
Lead Time: 7–10 natural days
Summary of the 4 Main Customization Projects
- Mechanical Punching Die-Cut Mold
- Printing Cylinder
- Embossing Roller
- Raw Materials
In actual production, not all four components require customization.
It depends on:
- Machine compatibility
- Design requirements
We evaluate your case and only recommend what is necessary.
V. Printing Sampling Process for Precut Aluminum Foil Lids
After the printing cylinder is ready, sampling begins.
When Can Printing Sampling Start?
Once the customized printing cylinder is completed.
Printing Sampling Steps
Step 1: Trial Printing
Color is calibrated according to:
- Confirmed Pantone color number
- Your physical sample
Step 2: Sample Delivery
We provide semi-finished or finished printed aluminum foil lid samples for evaluation.
Step 3: One Free Adjustment
If improvements are required, one free adjustment is provided.
Sampling Costs
Two main costs:
- Plate-making fee (usually one-time unless artwork changes)
- Sampling fee (covers material waste during trial printing)
Sampling fees depend on artwork complexity.
Sampling Lead Time
If existing die size is available:
10–14 natural days all in
Summary
Customizing precut aluminum foil lids is a systematic process, but with the right manufacturer, it becomes smooth, transparent, and predictable.
We focus on:
- Consistent quality
- Clear communication
- Food safety compliance
- On-time delivery
- Flexible customization
We are ready to support your next project.
Contact us today to discuss your customization requirements.